How to Apply Wave Cast Epoxy
Achieve a Flawless Finish with Wave Cast Epoxy
What you'll need
-

Wave Cast Epoxy Resin & Hardener
Shop Epoxy ResinChoose the right epoxy for your project, whether it's deep pour epoxy for thick castings, topcoat epoxy for a glossy finish, or general-purpose resin for art and crafts. Using the correct formula ensures optimal results.
-

Mixing Cups
Shop Mixing CupsUse graduated, disposable mixing cups with clear measurement markings to ensure the correct resin-to-hardener ratio. Precise measuring is essential for proper curing and a durable finish.
-

Stir Sticks or Mixing Paddle
Shop Mixing SticksStirring slowly and evenly with a flat stir stick or a mixing paddle attachment prevents air bubbles from forming. A well-mixed epoxy ensures a smooth, streak-free application.
-

Protective Gear
Shop Safety SuppliesSafety first! Wear nitrile gloves, safety glasses, and a mask (if needed) to protect your skin and lungs, especially in enclosed spaces.
-

Heat Gun or Torch
A heat gun or butane torch is great for removing air bubbles from freshly poured epoxy. Passing it over the surface at the right distance ensures a crystal-clear, professional finish. (Optional)
-

Pigments & Additives
Shop Pigments & AdditivesIf you want to add color, shimmer, or special effects, use mica powders, liquid pigments, or metallic flakes. These can enhance your design, but be sure to mix them in properly to avoid uneven curing.


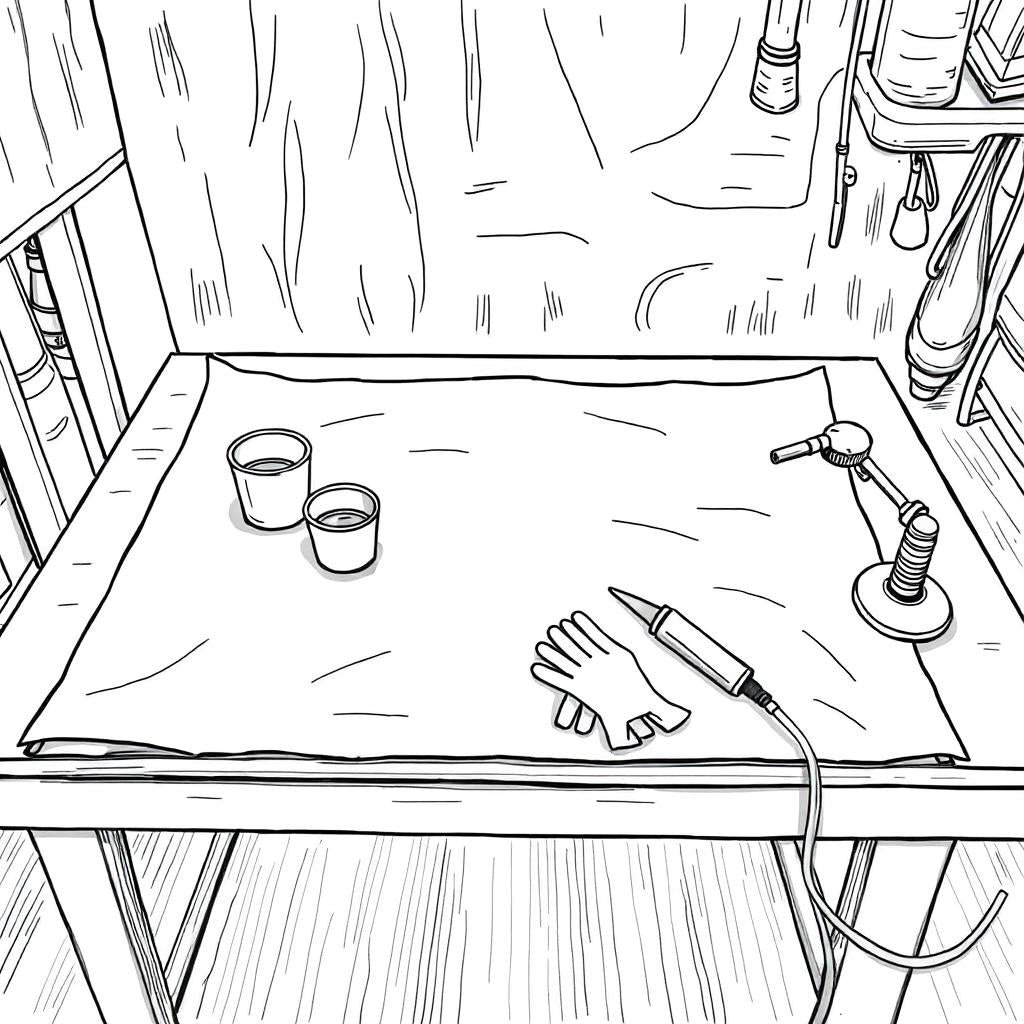
Step 1: Surface Preparation
Prepare Your Workspace for a Flawless Epoxy Finish
Before you begin, it's essential to set up a clean and controlled environment to prevent dust, debris, or humidity from affecting your epoxy’s finish.
- Work in a dust-free, dry, level, and well-ventilated space.
- Cover your surface with plastic sheets or a silicone mat to catch spills
- For wood or porous materials, apply a thin seal coat of epoxy and let it cure to prevent air bubbles.
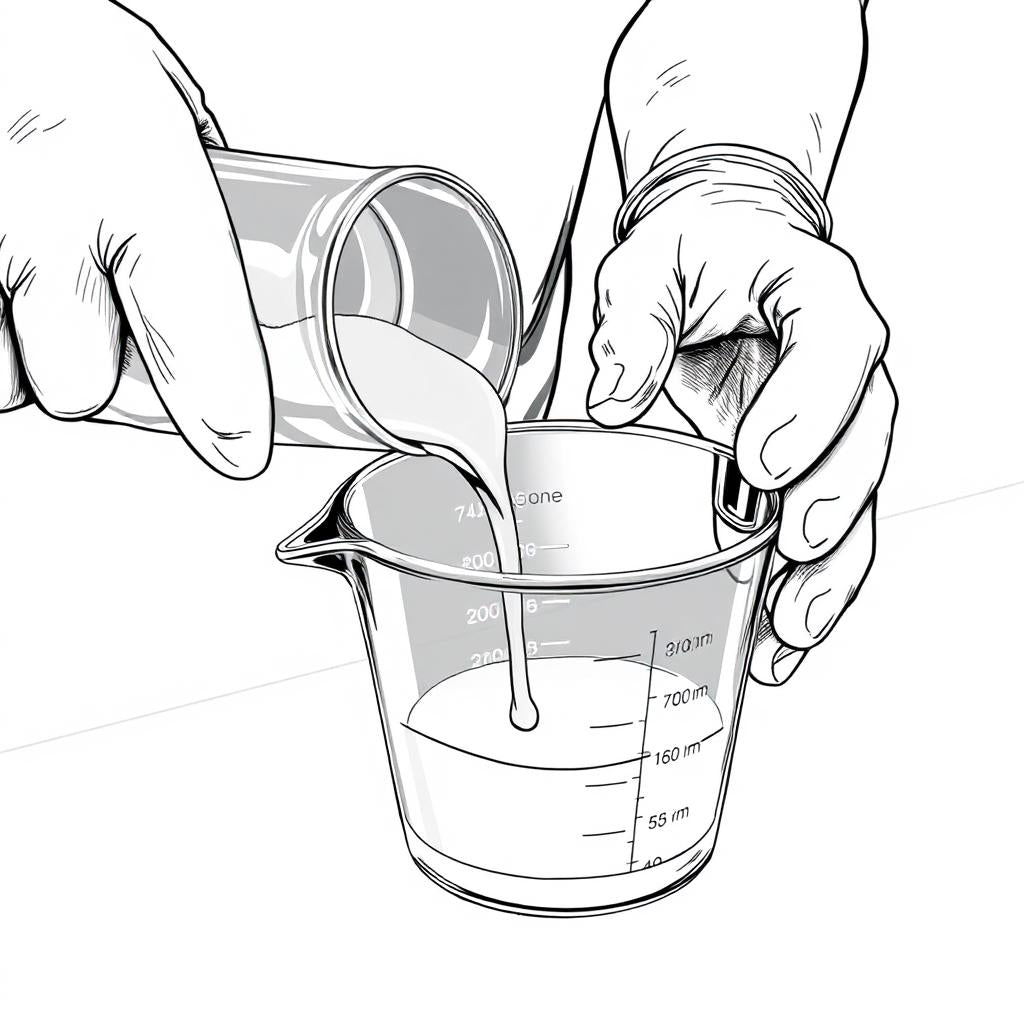
Step 2: Measuring the Epoxy
Get the Right Epoxy Ratio for a strong, durable cure
Proper measurement is crucial to achieving a bubble-free, fully cured finish.
- Follow the correct ratio: 1:1 or 2:1 (Check your product label).
- Use clean, graduated mixing cups for accuracy - no eye balling
- Improper measurements can cause a soft or tacky epoxy.
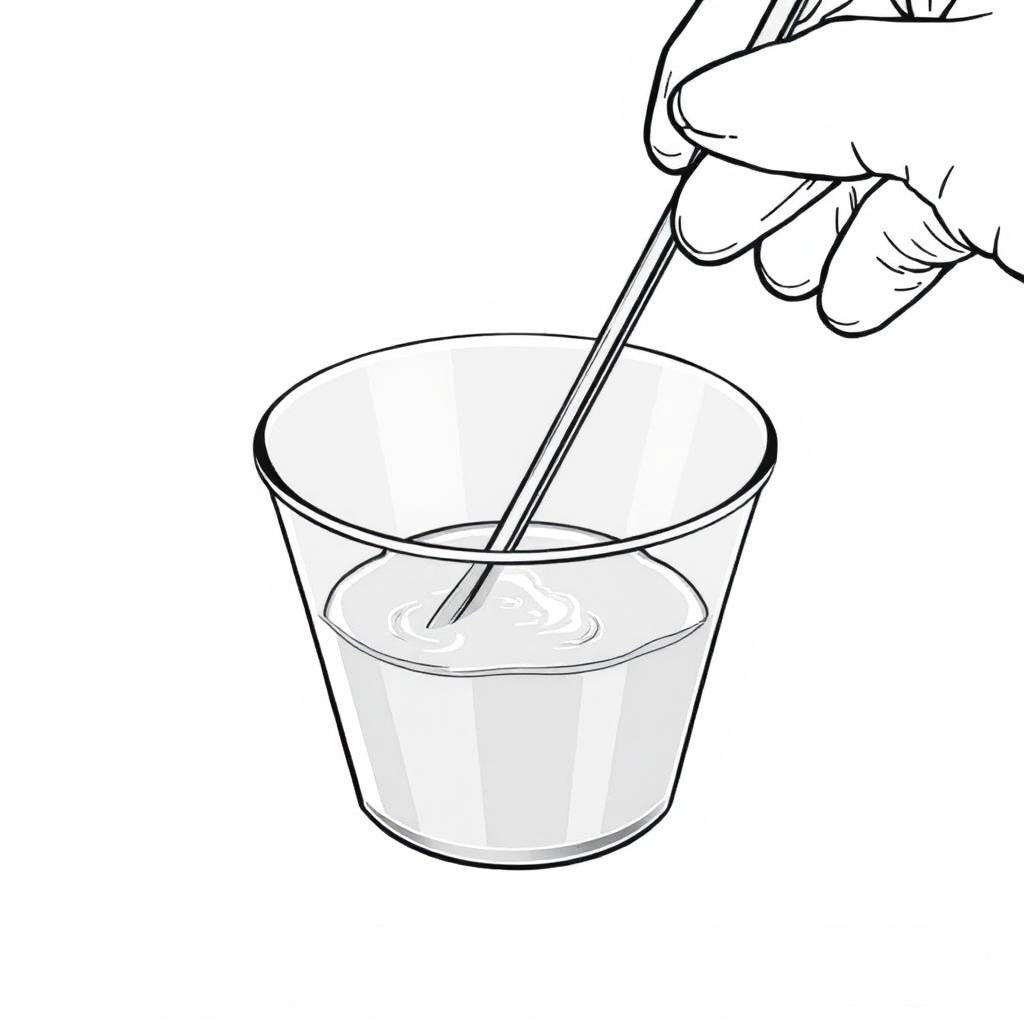
Step 3: Mixing the Epoxy
How to Properly Mix Epoxy for a Smooth, Clear Finish
The way you mix your epoxy determines how well it cures and how bubble-free your final result will be.
- Stir for 3-5 minutes, scraping the sides and bottom.
- Mixture should be completely clear with no streaks.
- If using pigments or additives, mix them in after blending the resin and hardener.
💡 Tip: Stirring too fast can create excess air bubbles.
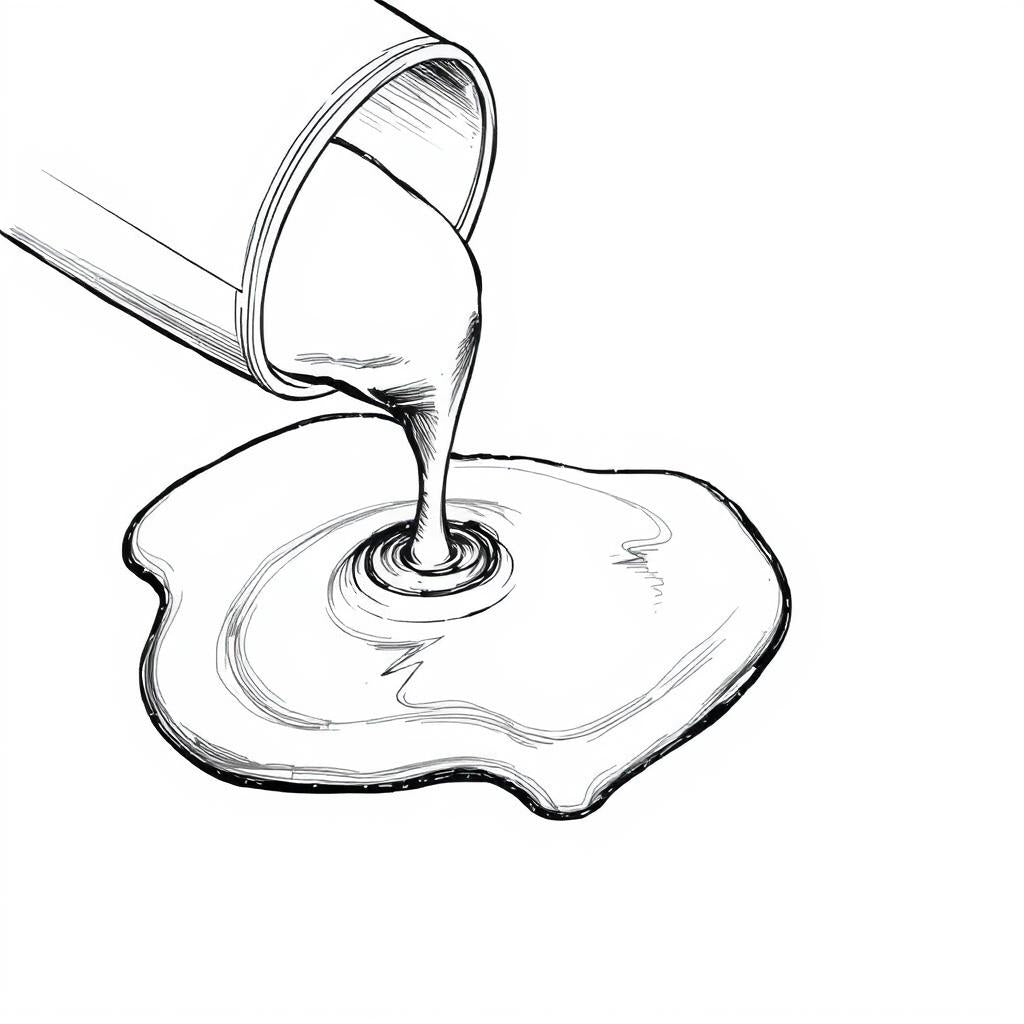
Step 4: Pouring the Epoxy
Achieve a Professional Pour Every Time
The way you pour your epoxy affects its leveling, clarity, and curing process.
- Pour slowly and evenly to avoid trapping air
- For deep pours, work in layers to prevent overheating
- Use a spreader or brush for even coverage on surfaces.
💡 Tip: Work in a dust-free space to keep debris out of your epoxy.
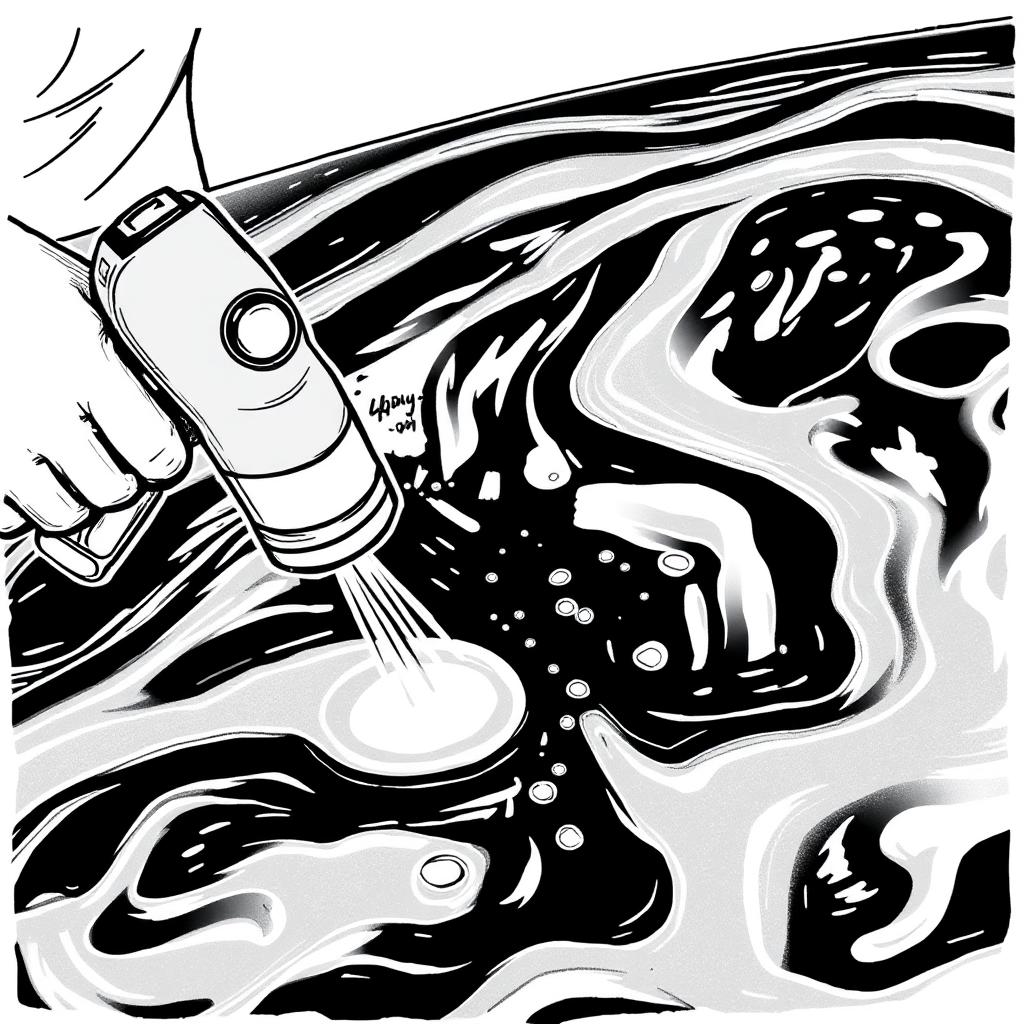
Step 5: Removing Air Bubbles
Eliminate Air Bubbles for a Perfectly Clear Result
Even with careful mixing, small bubbles can form in your epoxy. Here’s how to remove them effectively:
- Pass a heat gun or torch 4-6 inches above the surface
- Move in a sweeping motion to prevent overheating
- Repeat as needed in the first 15-20 minutes after pouring
💡 Tip: Overheating can cause rippling or discoloration—keep it moving!
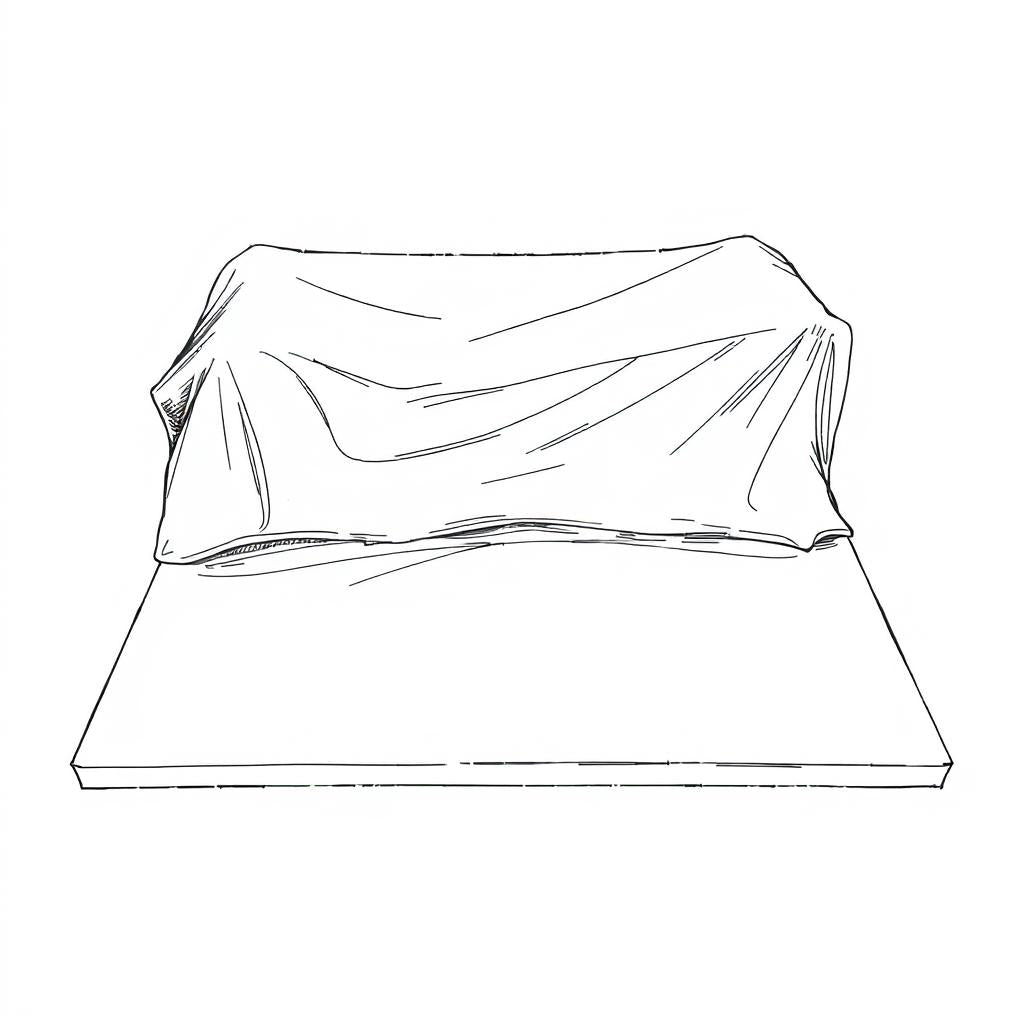
Step 6: Curing & Finishing
Let Your Epoxy Fully Cure for a Strong, Beautiful Finish
Proper curing time ensures maximum durability, clarity, and strength.
- Allow 24-72 hours for a full cure (depending on the thickness & temperature)
- Keep your workspace dust free and undisturbed
- For sanding and polishing, wait until the epoxy is fully hardened
💡 Tip: Cover your project while curing to prevent dust and debris from settling.